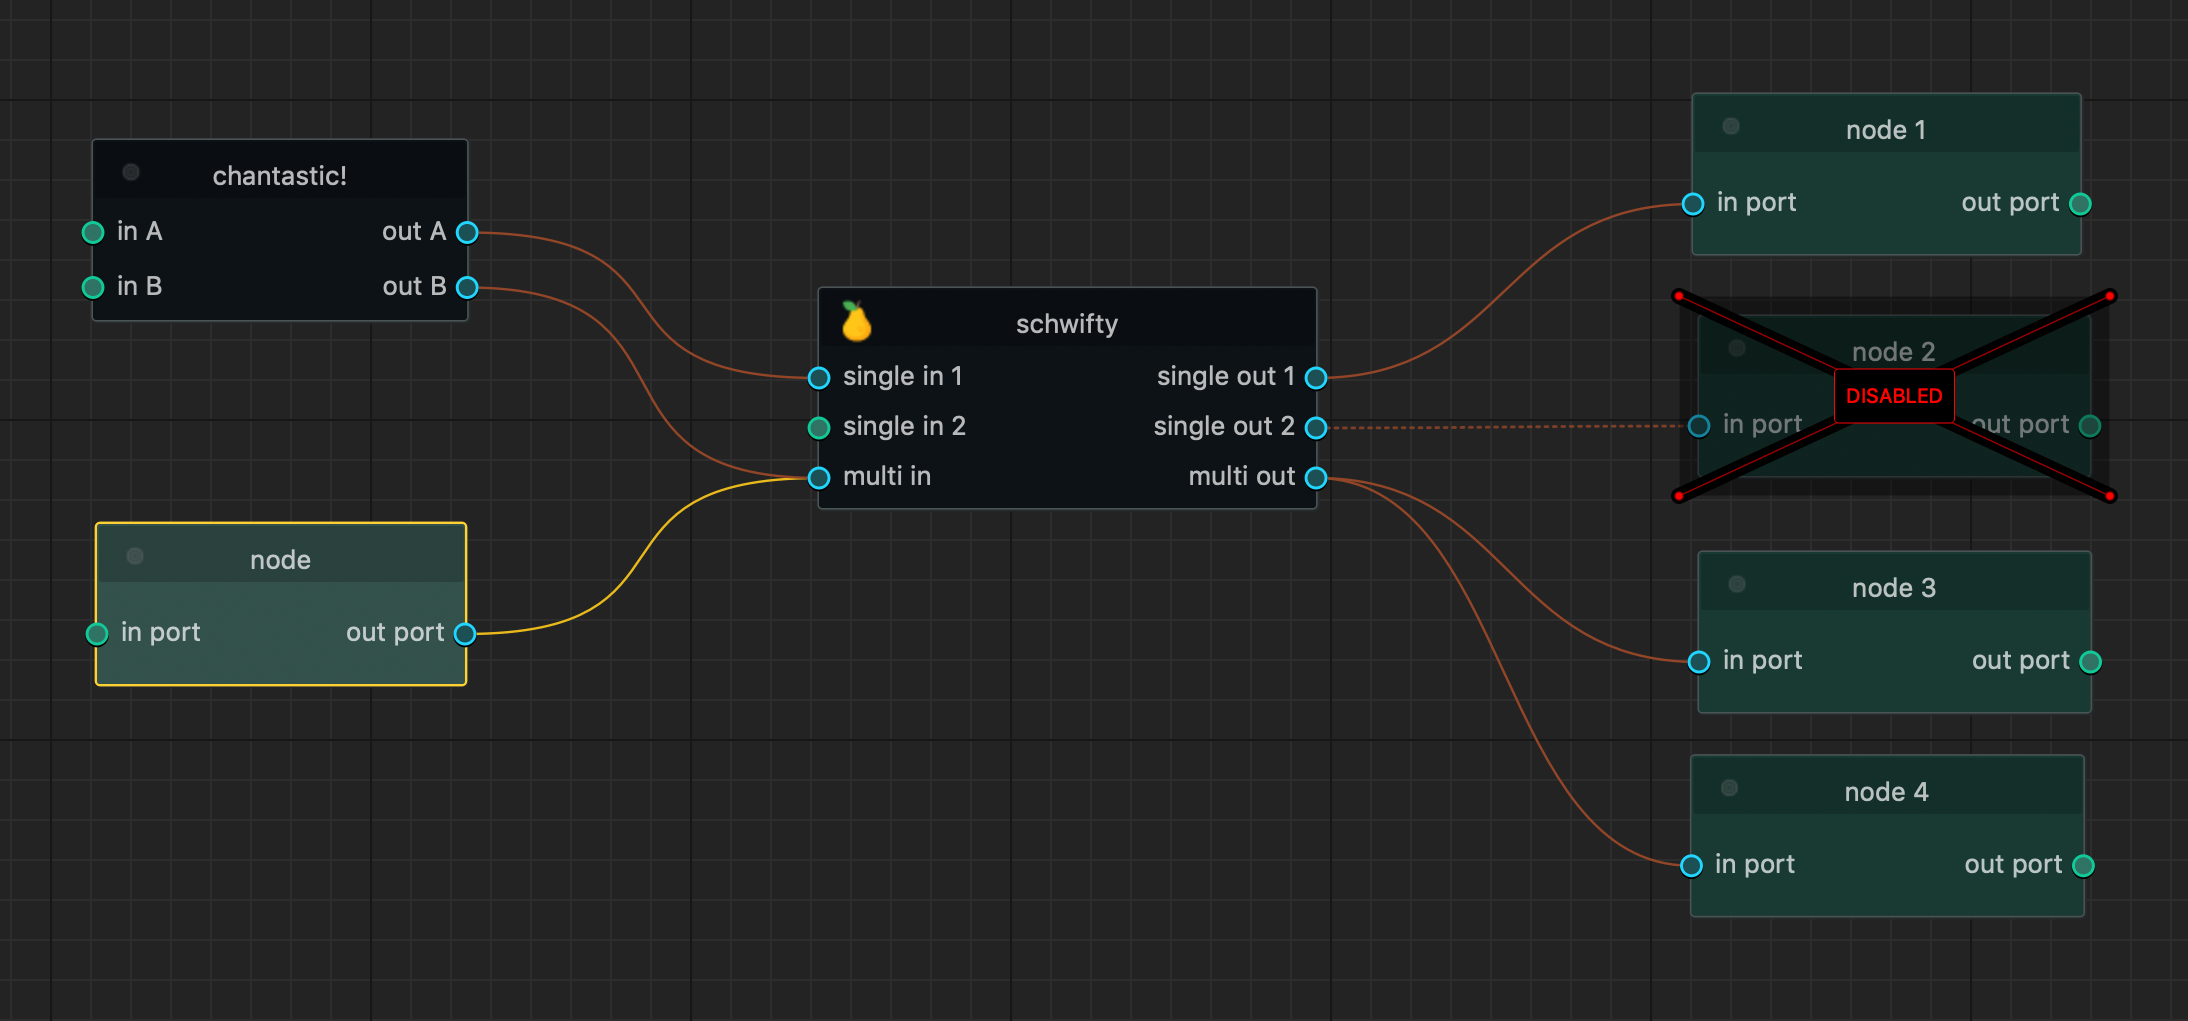
General Overview
User interface overview for the node graph.
Node Selection
Nodes can be selected/unselected with the selection marquee using LMB + Drag
Tab Search
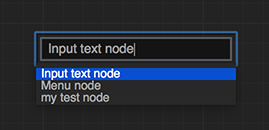
Nodes registered in the node graph can be created with the tab search widget.
action |
hotkey |
|---|---|
Toggle Visibility |
|
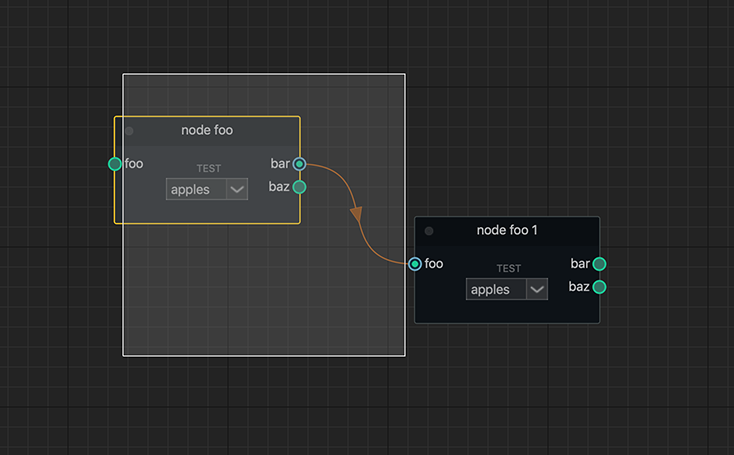
Pipe Slicing
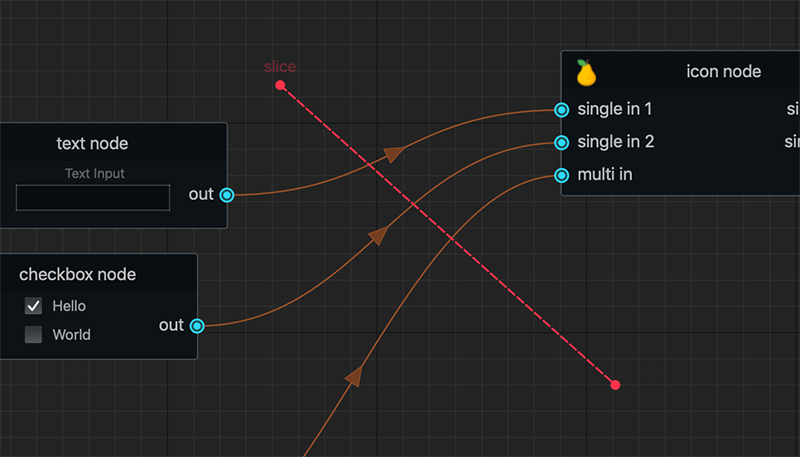
Connection pipes can be disconnected easily with the built in slice tool.
action |
controls |
|---|---|
Slice Connections |
|
- Additional Info:
To disable or enable the pipe slicer see
NodeGraphQt.NodeGraph.set_pipe_slicing()
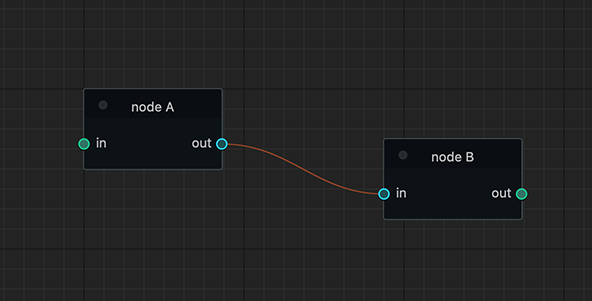
Basic Setup
Here’s a basic example snippet for creating two nodes and connecting them together.
 1from Qt import QtWidgets
 2from NodeGraphQt import NodeGraph, BaseNode
 3
 4
 5# create a node class object inherited from BaseNode.
 6class FooNode(BaseNode):
 7
 8    # unique node identifier domain.
 9    __identifier__ = 'io.github.jchanvfx'
10
11    # initial default node name.
12    NODE_NAME = 'Foo Node'
13
14    def __init__(self):
15        super(FooNode, self).__init__()
16
17        # create an input port.
18        self.add_input('in', color=(180, 80, 0))
19
20        # create an output port.
21        self.add_output('out')
22
23
24if __name__ == '__main__':
25    app = QtWidgets.QApplication([])
26
27    # create node graph controller.
28    graph = NodeGraph()
29
30    # register the FooNode node class.
31    graph.register_node(FooNode)
32
33    # show the node graph widget.
34    graph_widget = graph.widget
35    graph_widget.show()
36
37    # create two nodes.
38    node_a = graph.create_node('io.github.jchanvfx.FooNode', name='node A')
39    node_b = graph.create_node('io.github.jchanvfx.FooNode', name='node B', pos=(300, 50))
40
41    # connect node_a to node_b
42    node_a.set_output(0, node_b.input(0))
43
44    app.exec_()
result: